DIY Cooling my DSL-2640T ADSL Broadband wifi Router

This is the continuity of my previous posts My Modem Gone Up in Smoke! and Inside My Linux DLink G-604T Broadband Modem/Router. Seems my local vendor finally replaced my faulty G-640T after eight month use with a new broadband wifi/router with same capabilities albeit different model (G-2640T). The new model is smaller, has shorter antenna and generate more heat than its predecessor.

I hate going back and forth from computer shop and my house to claim warranty, I prefer to have a fully working hardware that I can truly rely on. Thus acting on advice from my blog readers (especially Azmeen and Kucau I decided to improve the air ventilation for my broadband modem.

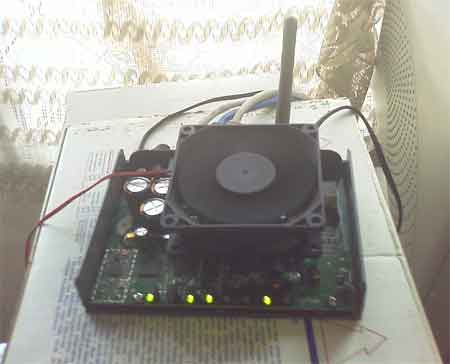
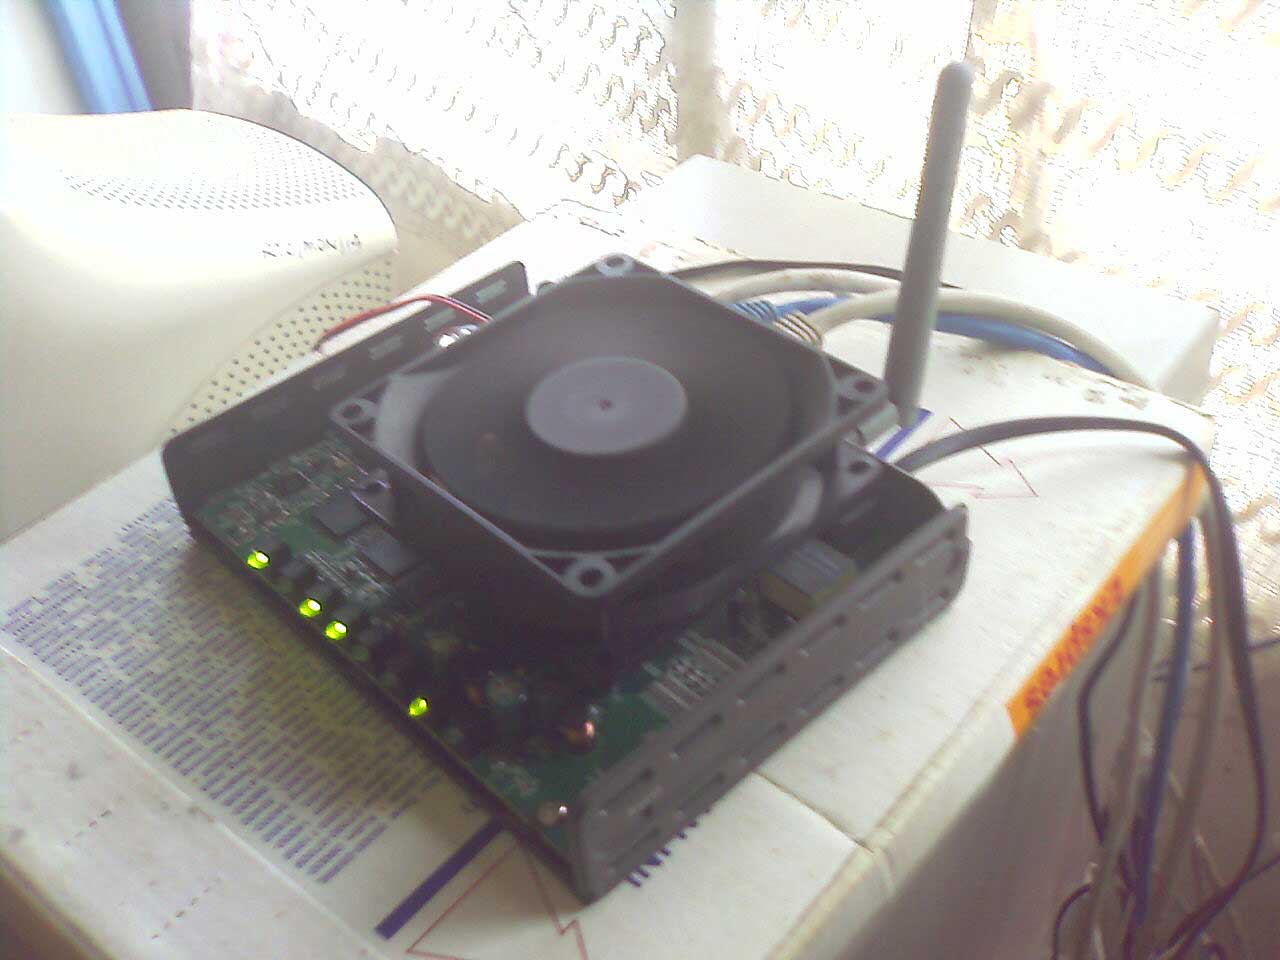
Because I dont have an air conditioner, I have to improvise in order to keep my modem cool and ventilated, I removed the outer casings of the modem and attached an ordinary 12volt casing fan on top of it with a strong glue. I powered the fan with a general purpose low voltage AC/DC adaptor (‘walkman’ adaptor) to make sure the modem stays cool during operation.

The Result
Without fan, the modem capacitors heat up so fast (approx 30 minutes) that it could burn up my fingers. The attached casing fan dissipate heat quickly resulting the modem circuits felt as cold as water.

Here’s a photo of my modification
adsl_modem2_tn.jpg
adsl_modem1_tn.jpg

Here’s a link to my other sloppy DIY work :p

[tags]diy,adsl,router,wifi,dlink,broadband,modem,streamyx[/tags]
Morse Code Training Application on Ubuntu Linux

I’ve been a SWL for a while now since I got my hand on my dad’s old two-way ham radio. Since then, I’ve become interested to learn morse code after listening it over the amateur radio band in my place.

After spending time searching for morse code training program, I settled on the three best application I can find inside Ubuntu repositories, and they are : aldo, cw and morse-x.

aldo
aldo is perhaps the best morse training application for Linux (unix-like) platform. It can train you to recognise morse code beeps with classic Block method or the more recommended Koch method.

Aldo keep tracks of your performance by gauging your accuracy of identifying the correct morse code keyed during training sessions. Aldo is also capable of generating random north american amateur radio callsign for training purposes, which is essential when you’re communicating/listening on CW mode.
http://www.nongnu.org/aldo/
Continue reading “Morse Code Training Application on Ubuntu Linux”

How to setup Tor and Privoxy in Ubuntu Feisty Fawn

Tor is a free implementation of anonymity network which protects your privacy over the internet. Tor enable this by providing virtual tunnel to internet application through SOCKS interface. This post will show you how to setup and use Tor to connect to internet anonymously.

  1. First of all you need to install tor and privoxy package

    apt-get install tor
    apt-get install privoxy
  2. Then you need to edit privoxy config file for some quick setup,
    gksudo gedit /etc/privoxy/config
  3. You need to comment “logfile logfile” line and add this line at the end of the file
    forward-socks4a/localhost:9050 .
  4. Save the file and restart privoxy service.
    sudo /etc/init.d/privoxy restart
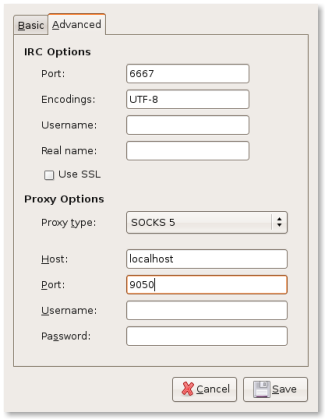
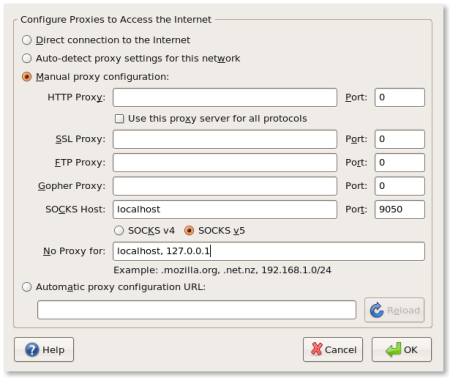
  5. You should be able to connect through Tor by using application which supports SOCK 4a/SOCK 5 interface with port 9050.

Here’s a screenshot of Mozilla Firefox and Gaim setup to use Tor
firefox.png

gaim.png

You can access those screen through Edit->Preference->Advanced->Network->Settings in Mozilla Firefox and Account->Advance Tab in Gaim/Pidgin. Other application which supports SOCK 5 can be configured similarly to connect through Tor (including Xchat irc client and other internet browser)

Other Operating System
Tor (and Privoxy) is also supported on other operating system including Windows, Mac OS and other Unix-like operating system. Please refer to Tor Download page for instructions to use tor on those system

[tags]tor,ubuntu,proxy,feisty fawn,debian[/tags]

How to use FTP filesystem on Ubuntu using CurlFtpFS

Some web hosting company do not offer shell access (SSH or Telnet) to your shared hosting account for security reasons, making it a bit harder for you to do regular file maintenance for your web account. Although the use of regular FTP client is adequate for most cases, some people still prefer to manipulate files directly using standard Unix tools (probably because of old habits).

Fortunately, there’s CurlFtpFS which allow you to mount remote ftp account as a standard filesystem on your Linux operating system.

Using CurlFtpFS
First of all you need to install CurlFtpFS, which in case of Ubuntu or Debian based operating system is to run ‘sudo apt-get install curlftpfs‘.

Alternatively, you can use Synaptic to install CurlFtpFS.

Assuming you’ve successfully installed curlftpfs, all you need to do in order to mount ftp locally is to to run these commands.

mkdir hostr
sudo curlftpfs -o allow_other ftp://user:pass@ftp.example.com host

user:pass is the username and password to log into ftp account.

After that, you can change your working directory to the mount-point and use the regular unix utilities to work on the files that normally accessible on the FTP protocol. After you’re done, you can unmount it by running the usual “sudo umount [mountpoint]” command

Using CurlFtpFS in fstab
You can add curlftpfs to fstab for automatic mounting by using this line :

curlftpfs#user:pass@ftp.example.com /mnt/host fuse rw,uid=500,user,noauto 0 0

Note: Please refer to CurlFtpFS website for further reference.

Thanks for reading this post, hopefully this will get you started to use curlftpfs FTP based filesystem in your Linux operating system.

[tags]filesystem,linux,debian,ubuntu,curl,fuse,mount,unix[/tags]

How to install Java Runtime and JDK in Ubuntu Linux

Installing Java Runtime and JDK has been made easy since Ubuntu Feisty Fawn since multiverse and universe package has been made available by default. This short how to, covers an easy way to install Sun Java environment in your Ubuntu operating system.

Installing Java Runtime

$ sudo apt-get install sun-java6-jre

Installing Java Software Development Kit (JDK)

$ sudo apt-get install sun-java6-jdk

Alternatively you can choose to install previous Sun Java version on your machine by replacing ‘sun-java6’ with ‘sun-java5’ for Java 1.5, or by installing ‘j2sdk1.4’ package for Java 1.4.

That’s all, you should be able to run Java applets using your favorite browser or run Java application by now.

[tags]java,jdk,linux,debian,ubuntu,apt-get[/tags]