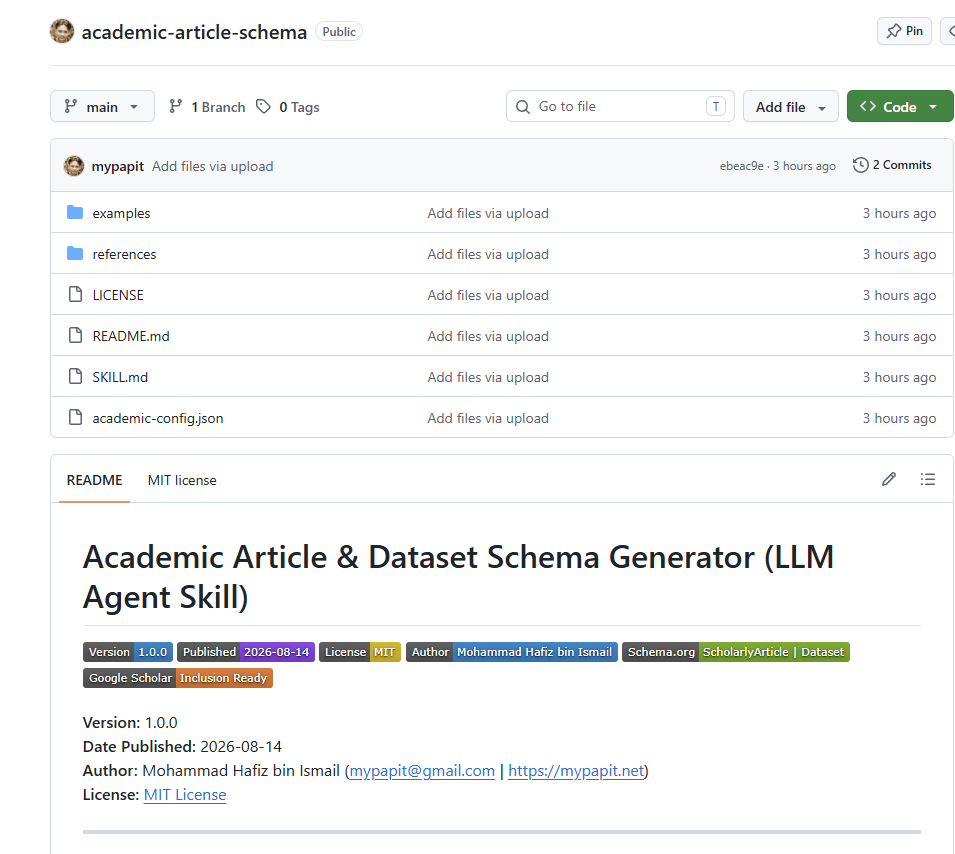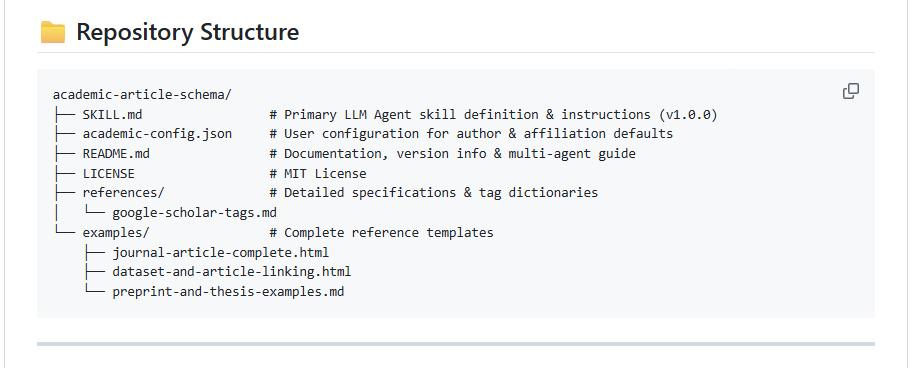
PolicyMaker: A Lightweight PHP Tool to Create Privacy Policy Pages for Android Apps

PolicyMaker is a lightweight web application for creating, managing, publishing, and displaying privacy policies for Android mobile applications. It is built using PHP and SQLite, so it does not need a heavy database server or complex deployment setup. The project is available on GitHub – https://github.com/mypapit/policymaker

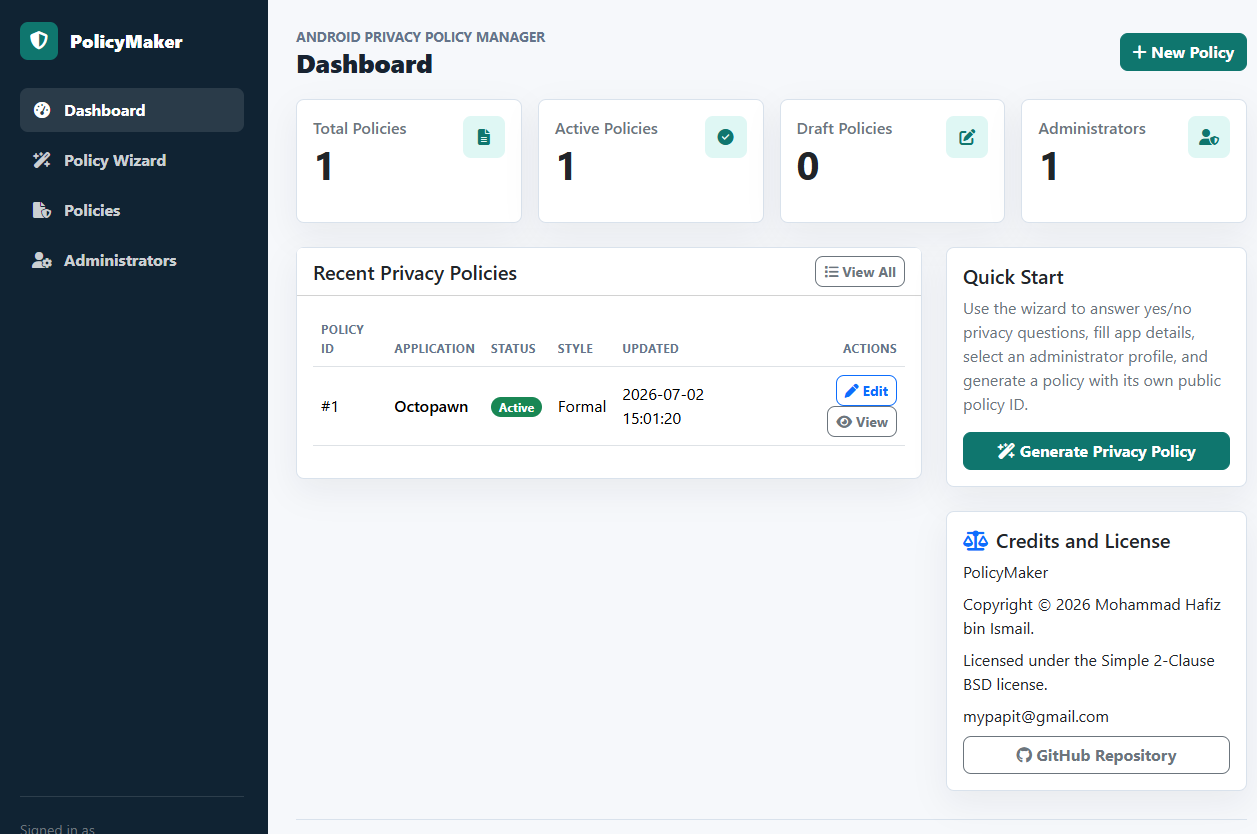
PolicyMaker Dashboard

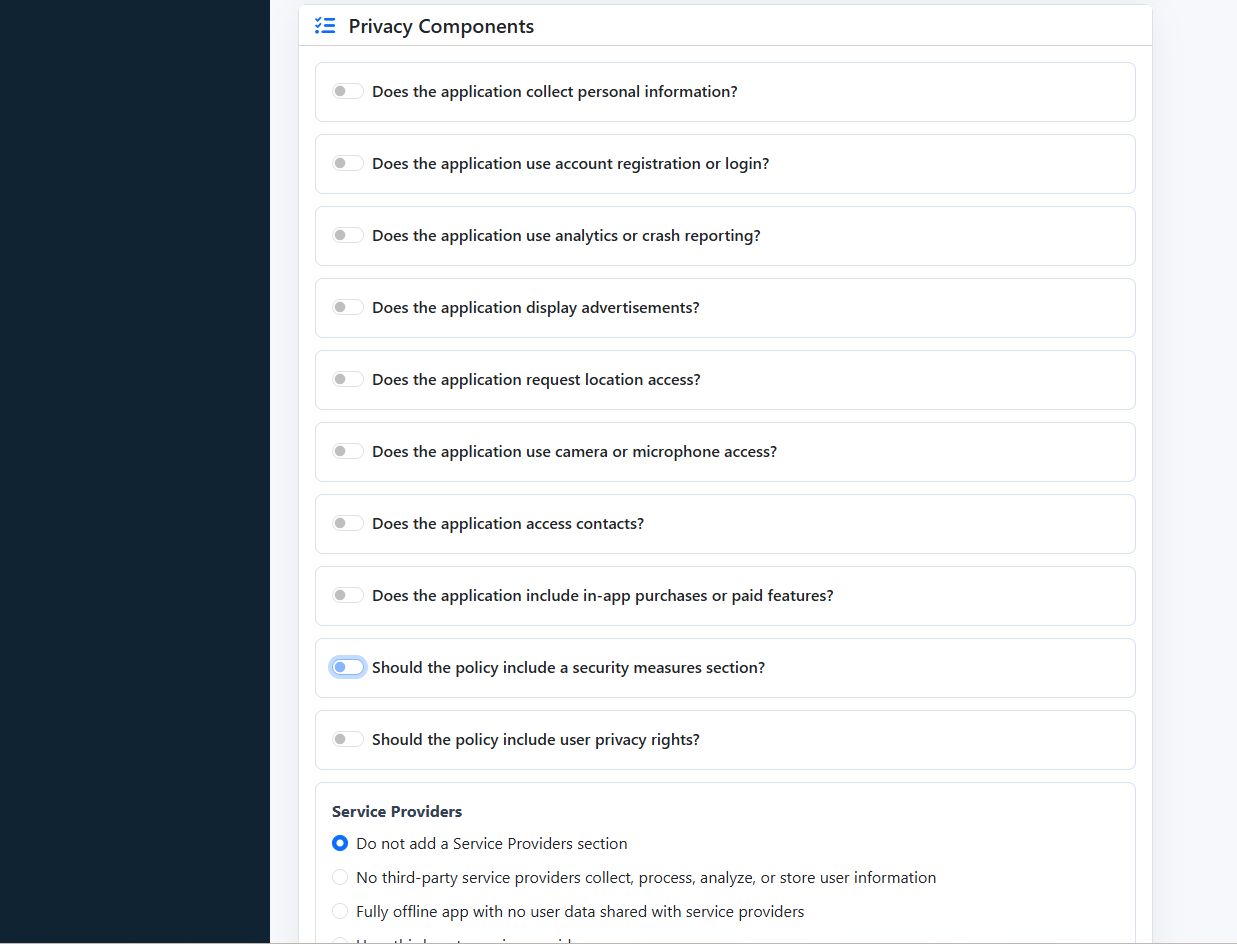
PolicyMaker Wizard

The main idea behind PolicyMaker is simple. Many Android developers need a public privacy policy page, especially when publishing applications to app stores. Instead of manually writing and formatting the same policy structure again and again, PolicyMaker provides an administrator-only wizard that helps generate structured privacy policy text from simple inputs.

The wizard supports yes/no choices, radio buttons, checkboxes, and text fields. It can collect details such as application name, package name, website, effective date, personal data collection, analytics, advertising, permissions, service providers, data retention, security, user rights, and children’s privacy.

PolicyMaker is useful for small developers, indie Android publishers, educators, and small organizations that manage several simple mobile apps. It is not meant to be a large enterprise compliance platform. Its strength is that it is small, direct, and easy to host. It only requires PHP 8.3 or newer with SQLite/PDO SQLite support. The installer creates the SQLite database and generates the first administrator password.

The public policy pages also include Schema.org JSON-LD metadata, which helps make the policy page more structured for search engines

PolicyMaker is licensed under the BSD 2-Clause license. This makes it practical for developers who want a small self-hosted privacy policy system that can be modified and deployed with minimal restriction.

Neuropentracker: A Simple BitTorrent Tracker for Small Setups

I have published Neuropentracker, a simple BitTorrent tracker on GitHub:
https://github.com/mypapit/neuropentracker

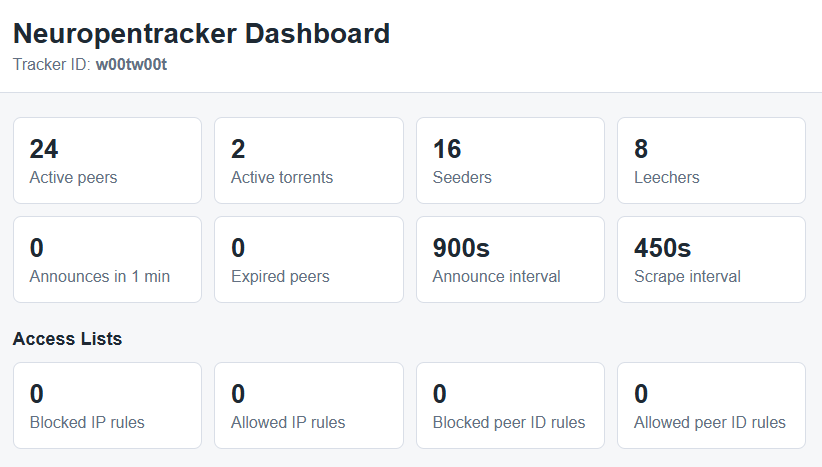
Dashboard Screenshot

What it is

Neuropentracker is written in PHP and is designed for small setups. It is suitable for small organizations, small communities, labs, schools, or internal file-sharing environments.

The main idea behind Neuropentracker is simplicity. It does not try to be a complete torrent portal or a large public tracker. It only provides the basic tracker functions needed by BitTorrent clients, such as announce and scrape support

It is designed for small organization to reduce server load when sharing large files. Instead of every user downloading from one central server,

What it is not

It is not intended for large public torrent sites. It does not include advanced features such as user accounts, ratio tracking, moderation system, or full torrent management portal. Administrators still need to secure the server, database, and tracker configuration properly.

Parting words

Overall, Neuropentracker is a lightweight and practical BitTorrent tracker for small and controlled environments. It is best used when the requirement is simple peer tracking, not a full torrent community platform.

Setting Up Home Assistant on Ubuntu 26.04 Using Docker

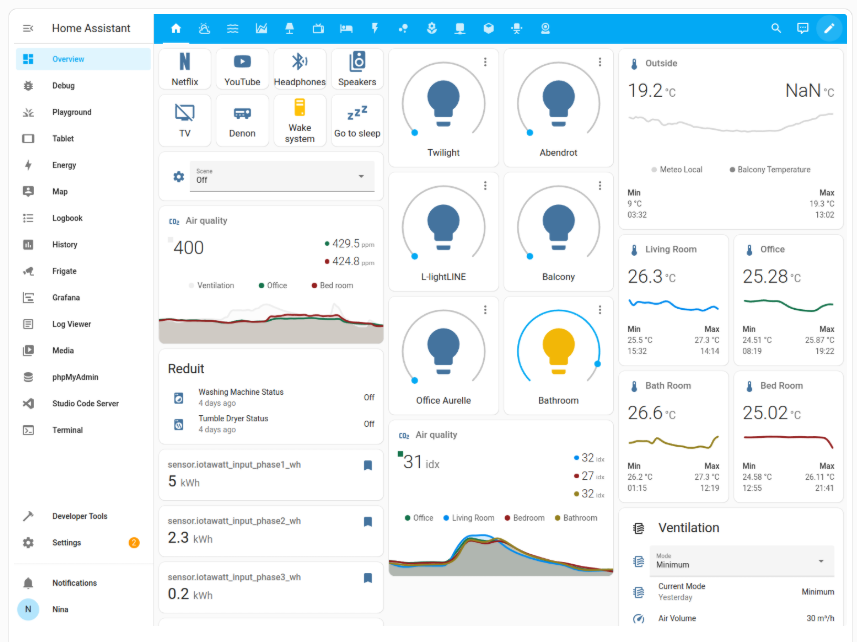
Home Assistant is one of the most practical platforms for building a local smart home system. It can connect sensors, switches, cameras, MQTT devices, smart plugs, Zigbee devices, dashboards, and automation rules in one place.

For Ubuntu 26.04, one clean way to install it is by using Home Assistant Container with Docker Compose. This keeps the setup simple, portable, and easy to update. Home Assistant officially supports the container installation method, but note that this method does not include Home Assistant OS apps or Supervisor features. You manage the container yourself.

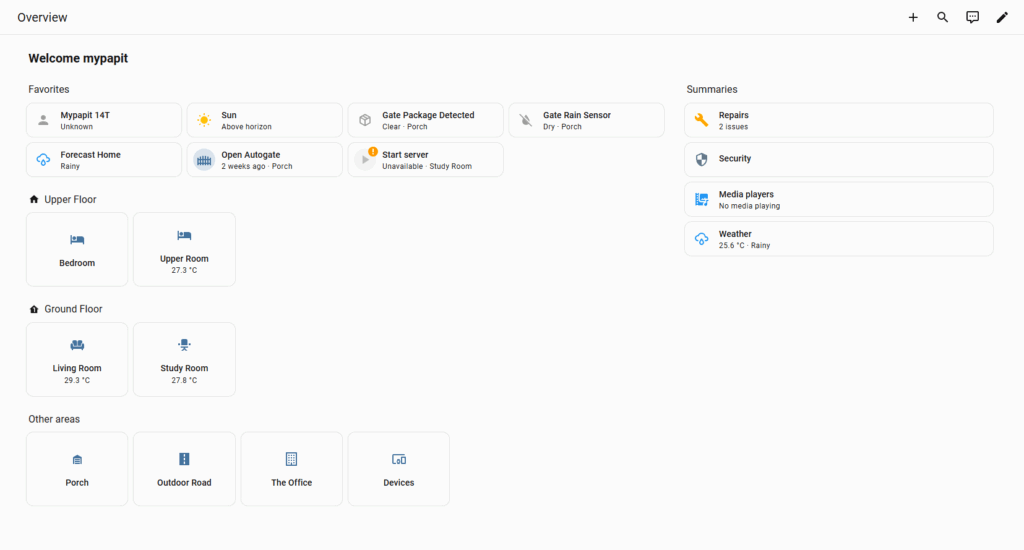
Screenshots

Step 1: Setting up docker container

sudo apt update
sudo apt upgrade -y

Install required packages:

sudo apt install ca-certificates curl -y

Add Docker’s official GPG key and repository:

sudo install -m 0755 -d /etc/apt/keyrings

sudo curl -fsSL https://download.docker.com/linux/ubuntu/gpg \
-o /etc/apt/keyrings/docker.asc

sudo chmod a+r /etc/apt/keyrings/docker.asc

sudo tee /etc/apt/sources.list.d/docker.sources <<EOF
Types: deb
URIs: https://download.docker.com/linux/ubuntu
Suites: $(. /etc/os-release && echo "${UBUNTU_CODENAME:-$VERSION_CODENAME}")
Components: stable
Architectures: $(dpkg --print-architecture)
Signed-By: /etc/apt/keyrings/docker.asc
EOF

Then install Docker Engine and Docker Compose plugin

sudo apt update
sudo apt install docker-ce docker-ce-cli containerd.io docker-buildx-plugin docker-compose-plugin -y

Docker’s official documentation lists Ubuntu 26.04 LTS as a supported Ubuntu release for Docker Engine, and recommends installing Docker from its official apt repository.

sudo systemctl status docker

Step 2 Create Home Assistant Folder

Create a folder to store the Home Assistant configuration:

sudo mkdir -p /opt/homeassistant/config
sudo chown -R $USER:$USER /opt/homeassistant
cd /opt/homeassistant

This folder is important because your Home Assistant settings, integrations, dashboards, and YAML files will be stored here.

Step 3. Create Docker Compose File

nano compose.yaml

Paste this configuration

services:
  homeassistant:
    container_name: homeassistant
    image: ghcr.io/home-assistant/home-assistant:stable
    volumes:
      - /opt/homeassistant/config:/config
      - /etc/localtime:/etc/localtime:ro
      - /run/dbus:/run/dbus:ro
    restart: unless-stopped
    privileged: true
    network_mode: host
    environment:
      TZ: Asia/Kuala_Lumpur

Home Assistant recommends network_mode: host for the container setup, because many smart home integrations rely on local network discovery. The official container guide also shows the /config volume, D-Bus mapping, privileged mode, and Docker Compose structure

Start Home Assistant:

docker compose up -d

Check the logs:

docker logs -f homeassistant

Then you can try and access your Home Assistant from your browser

http://YOUR_SERVER_IP:8123
http://192.168.1.50:8123

If you are running UFW firewall, allow port 8123

sudo ufw allow 8123/tcp

Additional Tips:

For an Ubuntu Docker setup, integrations that depend on USB hardware, such as Zigbee dongles, may need device mapping. For example:

devices:
  - /dev/ttyUSB0:/dev/ttyUSB0

Updating Home Assistant

You can periodically execute this to update Home Assistant docker container:

cd /opt/homeassistant
docker compose pull
docker compose down
docker compose up -d

Instantly convert Text to Natural Speech with Basic TTS Web App

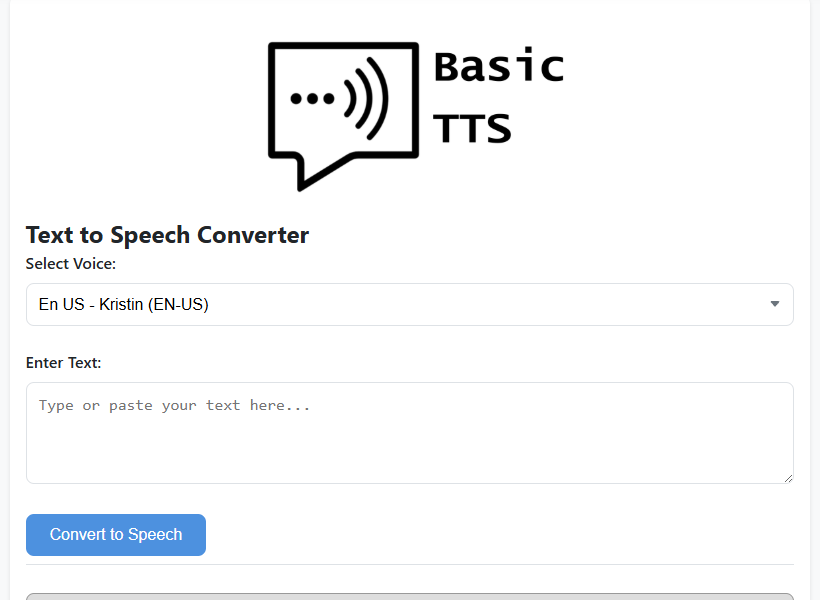
Basic TTS is a clean and easy-to-use web application that converts written text into natural-sounding speech. It is designed for users who want to test text-to-speech technology without installing complicated software or dealing with technical setup.

The web app is powered by Piper TTS, a lightweight and capable text-to-speech system. With Basic TTS, users can type their text, choose from several English voice models, and generate speech audio within seconds. Each voice has its own accent and speaking style, making it useful for testing different voice outputs.

One useful feature is its built-in audio control. After generating the speech, users can play, pause, change playback speed, or download the audio file for offline use. This makes Basic TTS suitable for simple voice experiments, accessibility testing, content creation, and quick audio generation.

No time to read lengthy articles? TLDR Chrome extension will digest that for you

Ever encountered long winded article which makes you feel like you do not want to read?

Enter TLDR; Chrome extension, a browser extension made by Recognant which can summarize any article for you.  The extension works well with English language article, but upon my inspection, it can also works well for Malay language article.

A must have extension  for those who just want to browse through articles at a glance.

Get Free PHP and MySQL Hosting with InfinityFree

For those who are seeking free web hosting to test their PHP / MySQL application can look into InfinityFree.net service which has interesting offers:

  • 99% uptime
  • No advertisement
  • PHP 7.0
  • MySQL 5.6
  • Includes FTP account access (rare !!)
  • Up to 10 Email Account
  • Apache 2.4 with .htaccess
  • 400 MySQL database
  • User can add their own domain
  • Free DNS service (including custom CNAME and MX record)
  • Unlimited Disk space and Bandwidth
  • Support Cloudflare CDN
  • Support SSL Certificate

The main advantages which entice me to InfinityFree are their support for SSL Certificate, 99% uptime guarantees and support for adding own domain name with their own free DNS.

The support for SSL certificate means that you can host Telegram Bot, Google Map web application and web app which utilizes OAuth API!

A rare sight for a completely free web hosting provider.

The only downside for InfinityFree is the free hosting only support up to 50,000 hits on the web server, which is fair by me as the free hosting could provide a good playground for Students and Web App Enthusiast to experiment with their code.