OwnCloud is a PHP-based Cloud-storage web application for remote storage with file synchronization capabilities.
Step 1
You need to install several packages in order to configure OwnCloud with nginx in your server
sudo apt-get -y install nginx-full php5-fpm php5-sqlite
Step 2: Download Owncloud
Download Owncloud, replace $OWNCLOUD_VER with the latest Owncloud version.
export OWNCLOUD_VER="8.1.0"
cd /var/www/
sudo wget -c https://download.owncloud.org/community/owncloud-${OWNCLOUD-VER}.tar.bz2
Step 3: Extract Owncloud
This will extract owncloud to /var/www/owncloud/
cd /var/www/
tar jxvf owncloud-${OWNCLOUD-VER}.tar.bz2
Step 4: Setup Nginx
You need to setup NGINX
cd /etc/nginx/sites-available
sudo nano -c /etc/nginx/sites-available/owncloud
Step 4a: Setup ‘owncloud’ nginx site
Please change server_name directive to your own ip address or your own domain.
You can also download textfile and upload it directly to your server: http://pastebin.com/2P8h1zNB
#
#/etc/nginx/sites-available/owncloud
#
server {
listen 80;
server_name cloud.example.com;
server_name 192.168.1.47;
# Path to the root of your owncloud installation
root /var/www/owncloud/;
# set max upload size
client_max_body_size 10G;
fastcgi_buffers 64 4K;
# Disable gzip to avoid the removal of the ETag header
gzip off;
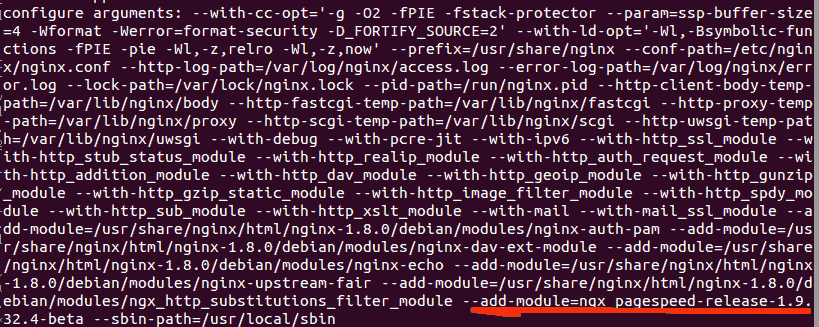
# Uncomment if your server is build with the ngx_pagespeed module
# This module is currently not supported.
#pagespeed off;
rewrite ^/caldav(.*)$ /remote.php/caldav$1 redirect;
rewrite ^/carddav(.*)$ /remote.php/carddav$1 redirect;
rewrite ^/webdav(.*)$ /remote.php/webdav$1 redirect;
index index.php;
error_page 403 /core/templates/403.php;
error_page 404 /core/templates/404.php;
location = /robots.txt {
allow all;
log_not_found off;
access_log off;
}
location ~ ^/(?:\.htaccess|data|config|db_structure\.xml|README){
deny all;
}
location / {
# The following 2 rules are only needed with webfinger
rewrite ^/.well-known/host-meta /public.php?service=host-meta last;
rewrite ^/.well-known/host-meta.json /public.php?service=host-meta-json last;
rewrite ^/.well-known/carddav /remote.php/carddav/ redirect;
rewrite ^/.well-known/caldav /remote.php/caldav/ redirect;
rewrite ^(/core/doc/[^\/]+/)$ $1/index.html;
try_files $uri $uri/ /index.php;
}
location ~ \.php(?:$|/) {
fastcgi_split_path_info ^(.+\.php)(/.+)$;
include fastcgi_params;
fastcgi_param SCRIPT_FILENAME $document_root$fastcgi_script_name;
fastcgi_param PATH_INFO $fastcgi_path_info;
fastcgi_pass unix:/var/run/php5-fpm.sock;
}
location ~* \.(?:jpg|jpeg|gif|bmp|ico|png|css|js|swf)$ {
expires 30d;
# Optional: Don't log access to assets
access_log off;
}
}
Step 4b: Enable ‘owncloud’ settings
cd /etc/nginx/sites-enable/
sudo ln -sf ../sites-available/owncloud .
nginx -t
service nginx restart
service php5-fpm restart
Step 5: Finishing off Owncloud setup
cd /var/www/
mkdir /var/www/owncloud/data
chmod 0770 /var/www/owncloud/data
chmod 0770 /var/www/owncloud/lib/private/
sudo chown -R www-data.www-data /var/www/owncloud
Step 6: Goto the IP-Address or domain name of your owncloud installation
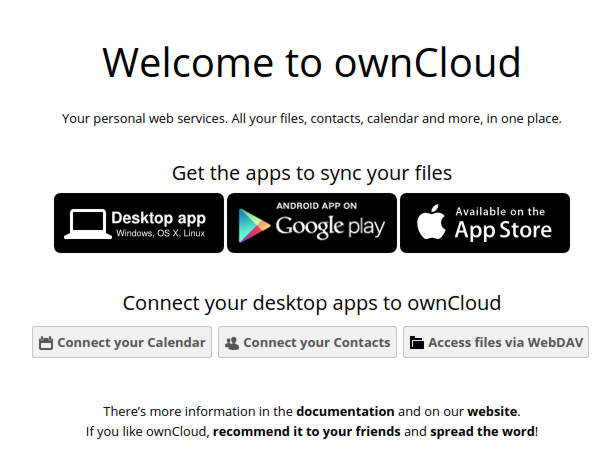
First screen
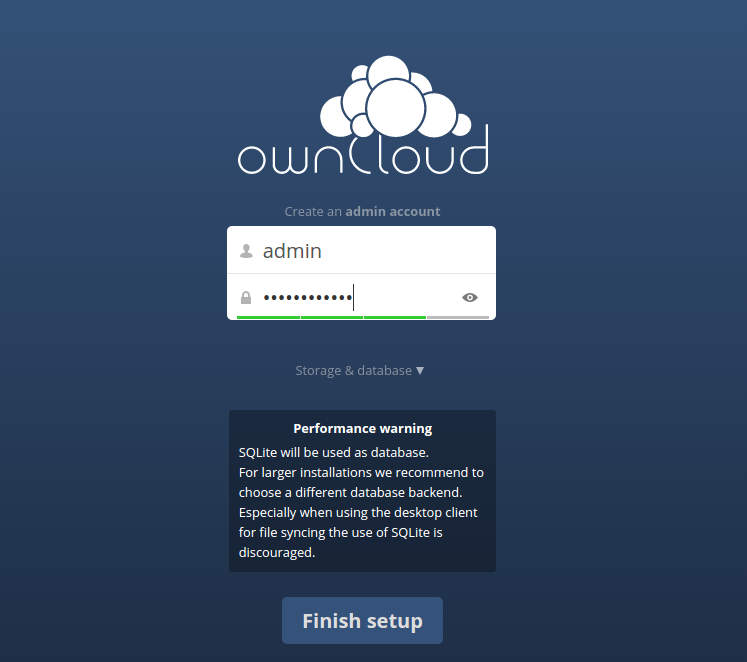
Welcome to Owncloud
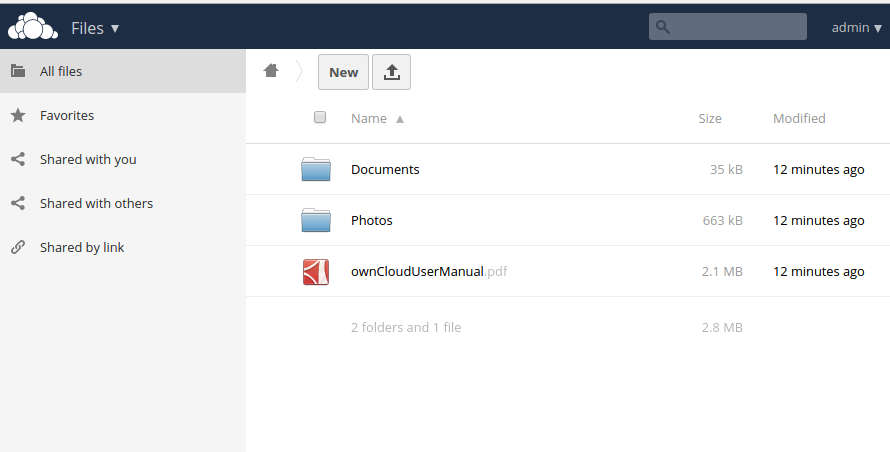
Owncloud File Manager and Settings
What’s Next?
After completing installation you may:
- Install Android, iPhone or Desktop client to sync all your files
- Install TLS/SSL Certificates to secure your Owncloud connection
- Install MariaDB/MySQL for efficient synchronization
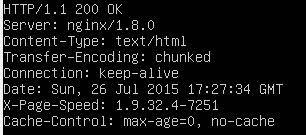
Warning: Do not enable Pagespeed and SPDY in OwnCloud
OwnCloud servers does not support PageSpeed and SPDY module, so please disable those extension if its exists within your nginx configuration.