Here’s how to run a script with another user privilege. You can run this user with root.
su -c "/usr/bin/executable" -s /bin/sh username
Where the “username” is the username whom privilege you want to execute

Free and Open Source blogger with an attitude
Here’s how to run a script with another user privilege. You can run this user with root.
su -c "/usr/bin/executable" -s /bin/sh username
Where the “username” is the username whom privilege you want to execute
The message sometimes appear when transferring files using scp.
In order to solve this, you need to edit “/etc/sshd_config” file and change or add this line:
UsePrivilegeSeparation yes
Then restart OpenSSH server. This will solve the kex protocol error problem,
You can enable quick file sharing using python3 by activating its built-in internal webserver
python3 -m http.server
The default webserver will listen to port 8000, you can change to any port above 1024 without root privileges by specifying the port number after the command:
python3 -m http.server 9090
Here’s a quick tip on how to download and save entire website recursively using wget.
wget -r --no-parent https://this.is.example.com/site/
Brotli is a new compressed data format developed by Google for compressing web data. It is documented in RFC7932. Currently, almost all modern web browser support Brotli which compressed better and faster than Deflate.
Brotli is can be enabled in most popular web server including:
KeyCDN.com has provided a tool for testing whether your website supports Brotli compression.
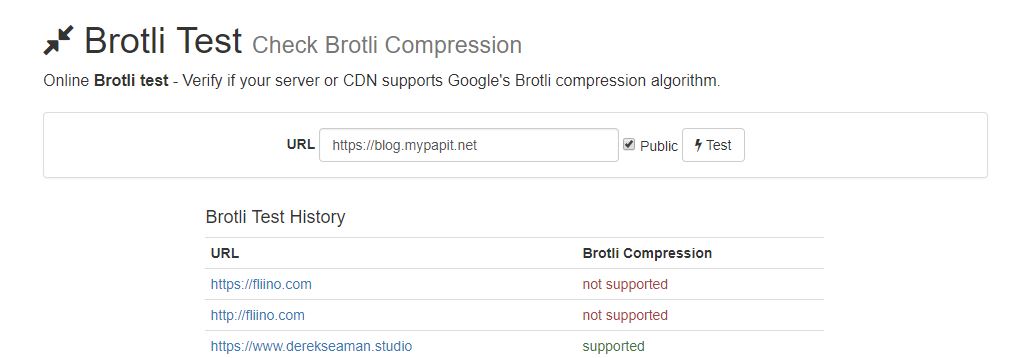
You can go over the website and get your server tested. For nginx webserver, ngx_brotli will automatically downgrade to gzip if the browser does not support brotli encoding
Short on diskspace? You can use ‘du’ to find largest files in your linux server using ‘du’ tool.
du --total -sh /path/*
Additionally you can also include a ‘threshold’ parameter to list only file larger than the unit which you’ve specified, by using “-t” parameter.
Example, list files larger than 100MB
du --total -sh -t100M /path/*
You can use “M” for megabytes, “G” for gigabytes and “P” for Petabytes. Positive number denotes files must be at least the specified size. Negative number means the files must be at most the specified size.