Here’s how to run a script with another user privilege. You can run this user with root.
su -c "/usr/bin/executable" -s /bin/sh username
Where the “username” is the username whom privilege you want to execute

Free and Open Source blogger with an attitude
Stuff about Ubuntu and Debian GNU/Linux
Here’s how to run a script with another user privilege. You can run this user with root.
su -c "/usr/bin/executable" -s /bin/sh username
Where the “username” is the username whom privilege you want to execute
Nmap (or Network Mapper) is probably the most popular network mapper around. However if you are running a very stable long-term support server, there are chances that your nmap database installation isn’t keep up to that.
Updating Nmap database
Nmap detection database consists of these files:
What you need to do is to download these files from Nmap Github project page and copy it to /usr/share/nmap/ folder.
Alternatively, you can use this script ‘nmap-update.sh’ which I’ve created based on this gist.
Copy all the files to /usr/share/nmap/ once all of them have been downloaded.
(y) (y)
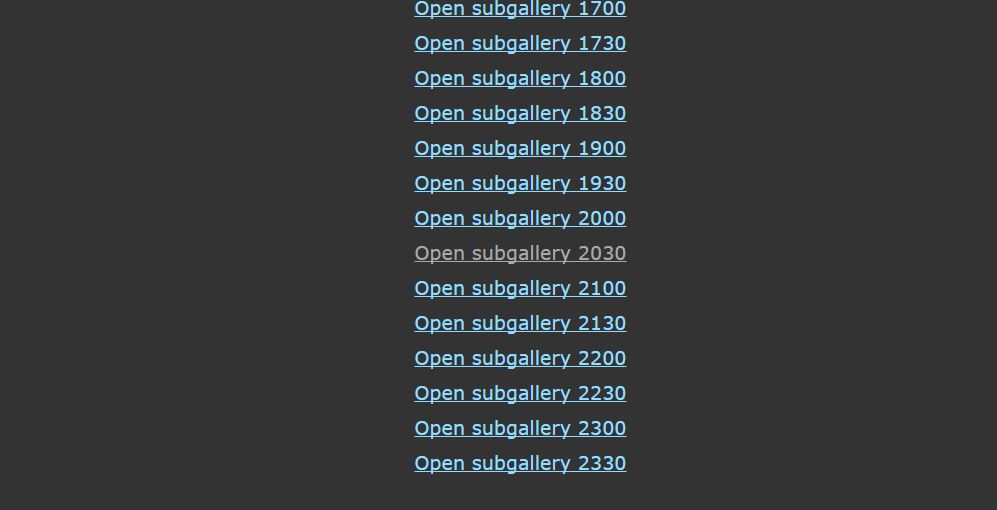
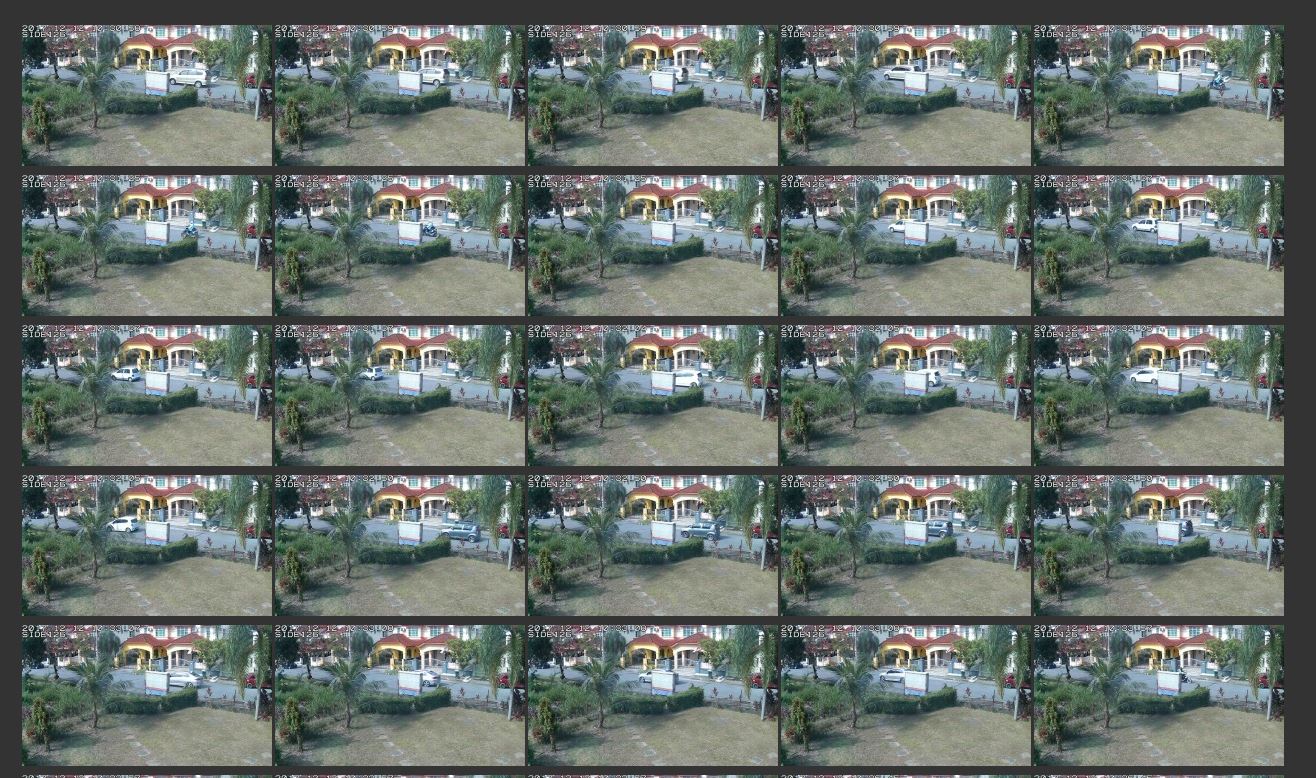
LLGAL (llgal) is an tool which can automatically generate gallery on your website. llgal is handy if you want to generate photo album out of photos organized in directories/folders.
Running llgal from the console is easy as typing the llgal command at the root directory of your photos.
llgal --exif --li -L -R --title "Album Name" --sx 960 --sy 720 --tx 250 --ty 150
In Ubuntu, the gallery’s theme is located in “/usr/share/llgal/” directory and my customized theme which supports mobile phone can be downloaded here: llgal.zip (mobile enabled)
Personally, i use llgal to generate cctv tiles automatically on my Ubuntu server from which my TP-LINK NC450 and NC250 IP camera uploads through its FTP functions when it detects movements/motion.
llgal can be installed on Ubuntu by running this command
apt -y install llgal
Alternatively you can compile and install llgal directly from its repository
https://github.com/bgoglin/llgal
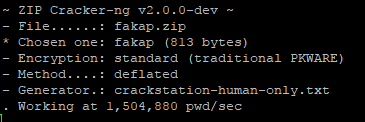
Cracking zip password can be made easy with cracker-ng
Installation is simple, assuming you use Debian, Ubuntu or any other similar operating system :
$ git clone https://github.com/BoboTiG/cracker-ng.git
$ cd cracker-ng

# For testers and contributors, always work with on the devel branch:
$ git checkout devel

$ make
Cracking is relatively simple, assuming you have downloaded the awesome Crackstation’s wordlist dictionary.
$ zipcracker-ng -f targetfile.zip -w crackstation-human-only.txt
Additionally zipcracker-ng can also be used with other brute-forcing cracking tool such as john and
$ john --incremental --stdout | zipcracker-ng -f FILE -

$ crunch 1 8 -f charset.lst lalpha | zipcracker-ng -f FILE -
I spend most of my time with headless Ubuntu server or Raspbian (a Debian derivatives distro for Raspberry Pi).
So naturally I use ‘nano’ to edit various configurations files and Python Scripts.
Here are several ‘nano’ shortcuts for your references
Searching
Search and Replace
Cut, Copy and Paste
Save and Exit
Indentation (useful for Python)
That’s all which I can share for today…
Would it be nice to be able to receive notification from your Linux system in Telegram?
![]()
I’ve come up with a rudimentary bash script which lets you integrate the telegram-cli into your own script which is useful for sending messages or notification within automated process to your Telegram account.
The bash script is very useful when you want to send notification to your Telegram account. Example usage: notifying you instantly whenever a backup has been completed or whenever somebody logged into your system or if there’s a brute-force attempt to log into your SSH. Basically anything that you can imagine!
The first step is to install the telegram-cli client on your Linux system. You may choose to:
IMPORTANT: Please read on how to initialize and sign-in the telegram-cli and key in the required telegram “CODE” in your phone.
You may copy this telegram bash script and chmod it to be executed from command line (up to you).
Download the script at: https://blog.mypapit.net/upload/files/send-telegram.sh.txt
#!/bin/bash
######
###
# telegram-cli bash script r0.1
# change 'to' to your own  Telegram account name
# by =  Mohammad Hafiz bin Ismail  [mypapit@gmail.com]
# url=  https://blog.mypapit.net/
###
######

## Replace 'to' with your account name

to=Replace_this_with_your-Telegram_account_name
##


function show_usage {

 echo "Usage $0 [message]"
 exit
}


if [ $# -lt 1 ]
then
  show_usage
fi


telegram-cli -W -e "msg $to $1"
IMPORTANT: Do not forget to “chmod a+x” the “send-telegram.sh” script.
IMPORTANT: Change the “to” variable in the script to match your own Telegram username.
Using the send-telegram.sh is easy!
Once you’ve logged in and initialized your telegram-cli application. You only need to execute the “send-telegram.sh” to send instant messages to your Telegram account!
Just do this
wget -c https://blog.mypapit.net/upload/files/send-telegram.sh.txt
cp send-telegram.sh.txt /usr/local/bin/send-telegram.sh
Then chmod it, to make it executable,
sudo chmod a+x /usr/local/bin/send-telegram.sh
IMPORTANT: Change the “to” variable in the send-telegram.sh script to match your own Telegram username.
sudo nano /usr/local/bin/send-telegram.sh
To test your telegram script, just make sure you’ve logged into Telegram and telegram-cli, and have entered the correct activation “CODE”. Read Step 1, if you are unsure.
Then you may try out the send-telegram.sh script
send-telegram.sh "this is my message"
To send telegram message with timestamp type:
send-telegram.sh "`date -I` : this is a message with timestamp"
Use your imagination! You can integrate this script in crontab, or put it inside another another bash script or conditional operation, or even launch it from a web application, the potential is limitless.
Happy trying!