Sometimes an AI gives you a technically correct answer, but you still cannot follow the explanation. It may skip an important step, introduce too many new terms, or assume you already know a specialist concept.
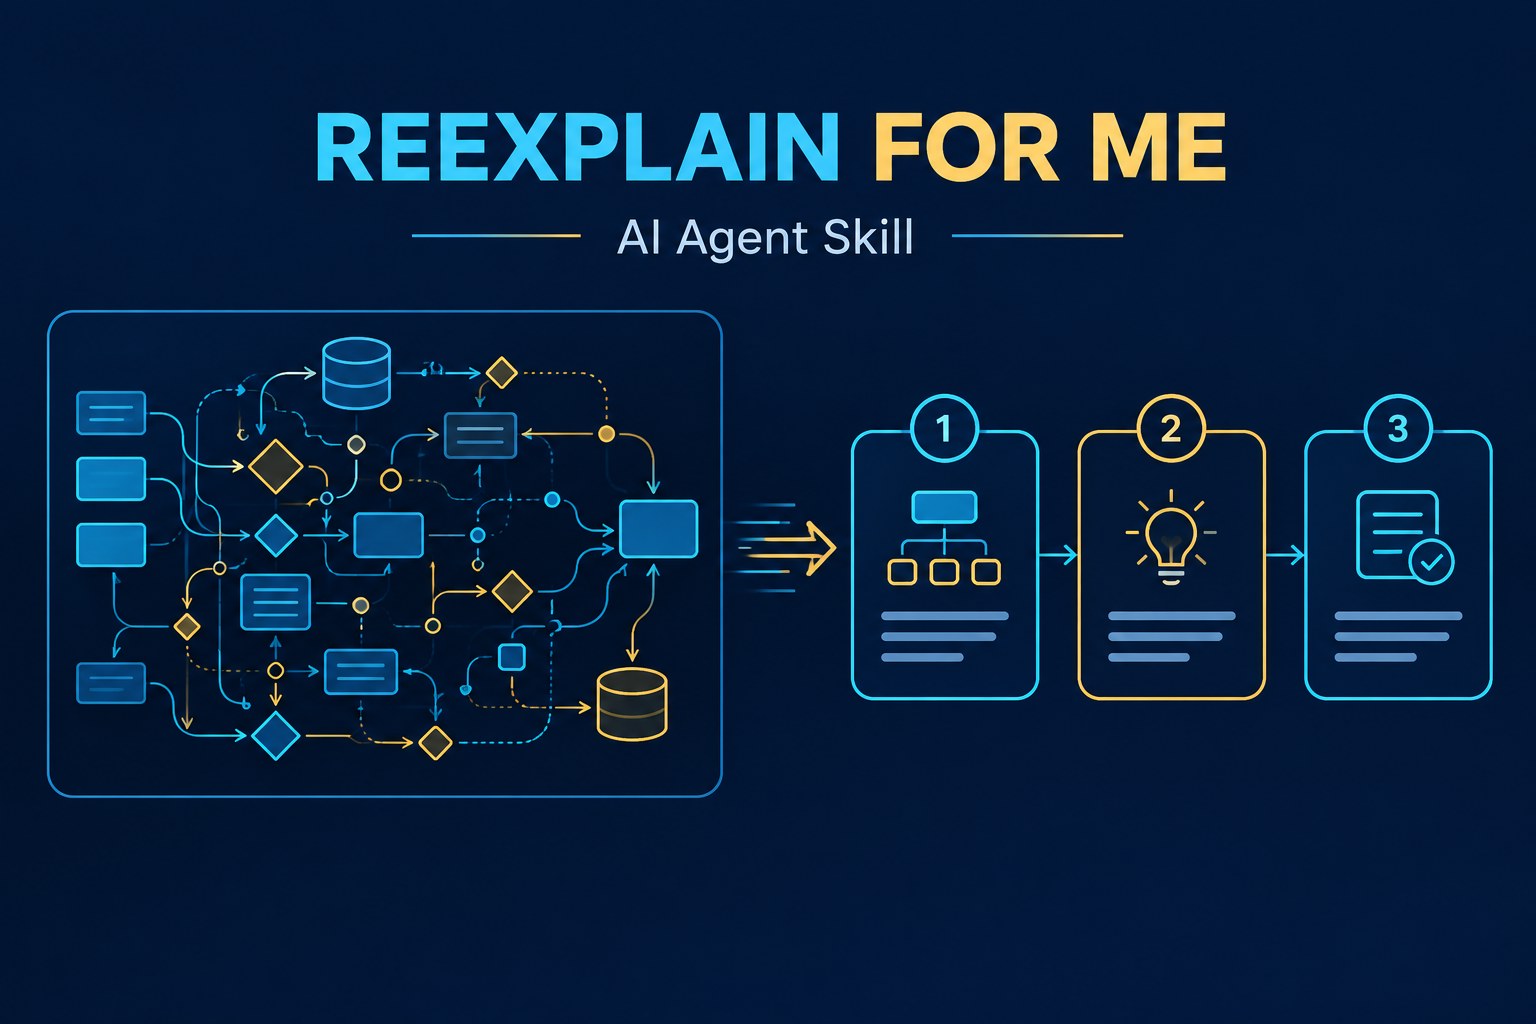
I created Reexplain For Me, a reusable AI agent skill that addresses this problem. Instead of explaining everything from zero, it starts with what you already know and walks through the difficult part, one step at a time.
What does Reexplain For Me do?
The skill is intended for adults who already know the basics of a subject, but need help with a particular advanced concept. It is especially useful when reading technical documentation, understanding software behaviour, or comparing implementation choices.
Its instructions tell the AI agent to:
Give a short, useful answer before the detailed explanation.
Explain one new idea at a time and define unfamiliar technical terms.
Use one consistent example across several steps, rather than switching examples halfway.
Explain where an analogy stops being accurate.
Correct factual mistakes directly, without unnecessary praise.
Compare choices using their benefits, limitations, risks, and requirements.
Confidence labels help you judge the answer
Another feature is explicit confidence tagging. The skill asks the AI to distinguish what is supported by evidence from what is inferred or uncertain:
[Certain]: a claim supported by checked evidence or a demonstrated calculation.
[Likely]: a strong inference based on the available evidence.
[Guessing]: a claim with insufficient evidence, including an explanation of what information is missing.
These labels are not a guarantee that the model is correct. They are a way to make its assumptions and uncertainty easier to inspect.
How to use Reexplain For Me
With an AI agent that has the skill installed, invoke it by name and identify where the explanation became difficult:
Use $reexplain-for-me. I know what a database index does.
Walk me through why a query planner might scan the whole table anyway.
Use one example and carry it through each step.
If you still do not understand a particular step, you can ask the agent to return to that step and explain it with a smaller example. You can also include a passage, diagram description, or error message to give the agent more context.
Can I use it with other AI agents?
The repository provides the skill in SKILL.md format, with additional Codex metadata under agents/openai.yaml. It is written primarily as a Codex skill, but the instructions are plain text and can be reused in other AI agent environments.
For agents that support compatible skill files, install it using that agent’s supported skill location or import method. For agents that do not, you can adapt the contents of SKILL.md as custom instructions or a reusable prompt. The exact installation procedure and invocation command depend on the agent; not every platform recognizes $reexplain-for-me automatically.
Get the skill on GitHub
Reexplain For Me is available in my GitHub repository. Read the README for the usage example and the complete SKILL.md for its response rules.
The objective is simple: make AI explanations easier to follow without talking down to technically competent readers, hiding uncertainty, or agreeing with incorrect assumptions.
Running a local AI system such as Ollama, Open WebUI, or a Retrieval-Augmented Generation (RAG) application often means preparing a collection of PDF files, Microsoft Word documents, and LibreOffice files. These formats are useful for everyday work, but they are not always easy to parse or index correctly.
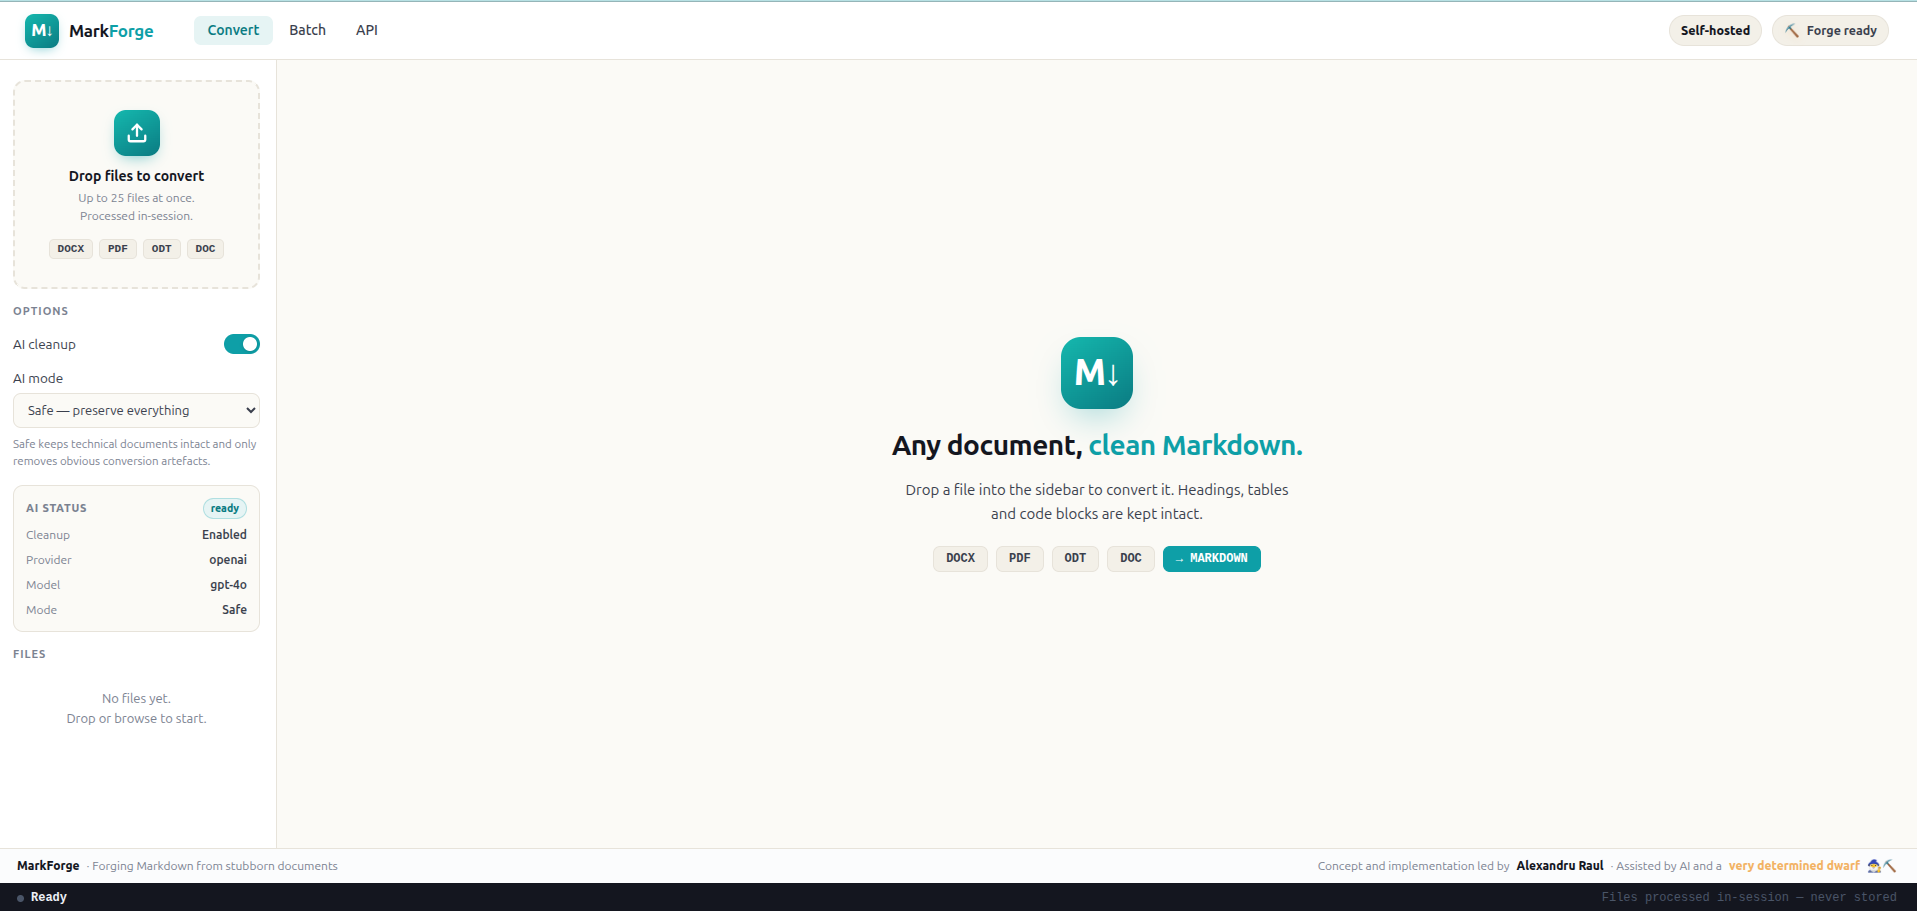
MarkForge converts these files into Markdown, a simple text format suitable for local AI knowledge bases. In this guide, we will install the Punctiq version of MarkForge using Docker on Ubuntu Linux and convert documents without sending them to an external service.
MarkForge is an open-source, self-hosted document converter. It supports batch processing, Markdown previews, extraction of figures, optional AI-assisted cleanup, and ZIP exports containing converted documents and associated files.
Document type
Supported extension
PDF
.pdf
Microsoft Word
.docx
Legacy Microsoft Word
.doc
OpenDocument Text
.odt
Important: Several unrelated projects also use the MarkForge name. This article covers github.com/Punctiq/markforge. Its supported Office document formats do not include Excel, PowerPoint, or OpenDocument spreadsheet/presentation files.
Why Markdown for Local AI?
Markdown is plain text with lightweight structure. It can preserve headings, paragraphs, lists, simple tables, and image references without the additional formatting data found in Word files and PDFs.
For a local RAG system, Markdown content can be split into smaller sections, embedded, and stored in a vector database. Keeping the headings can also make the retrieved passages easier to understand. However, conversion is not a guarantee of accurate extraction. Tables, equations, and multi-column pages still need to be checked.
Step 1: Install MarkForge with Docker
We will use Docker on Ubuntu. The project’s Docker image includes dependencies such as LibreOffice and Pandoc.
Clone the source repository:
git clone https://github.com/Punctiq/markforge.git
cd markforge
With the API key left empty, MarkForge can perform normal document conversion without invoking an external AI model. Keep AUTH_ENABLED=false only if the application remains restricted to your own machine or another trusted environment.
Build and start the application:
docker compose up -d --build
Open http://127.0.0.1:8010 in a browser on the Docker host. The provided Compose configuration binds port 8010 to the host’s loopback address, rather than exposing the service directly to the local network or internet.
Check whether the service is responding:
curl http://127.0.0.1:8010/api/v1/health
Step 2: Convert PDF, Word, and ODT Files
Open the MarkForge web interface.
Select a .pdf, .docx, .doc, or .odt document.
Disable AI Cleanup for conversion without LLM calls.
Start conversion and inspect the resulting Markdown preview.
Download the Markdown or the ZIP package containing the output and figures.
The ZIP package is helpful when a document has figures that need to remain together with the Markdown file.
Automate a conversion with curl
MarkForge also provides a conversion API. For example, to convert manual.pdf into a ZIP package:
This approach can be adapted to a local document-processing script. Check the API response and converted content before automatically indexing the output.
PDF limitation: This version uses PyMuPDF to extract existing text. Image-only scanned pages without selectable text are not automatically processed with OCR. Perform OCR separately before conversion if your PDF consists of scanned pages.
Step 3: Optional AI Cleanup with Ollama
MarkForge can optionally send extracted Markdown to an LLM for formatting cleanup. It supports OpenAI-compatible endpoints, including a locally hosted Ollama server.
For MarkForge installed directly on the same host as Ollama, a basic configuration is:
Use a model that you actually have installed. Docker users must change the endpoint: inside the MarkForge container, 127.0.0.1 refers to the container itself, not the machine running Ollama. Configure a reachable host or Docker network address before enabling cleanup.
Safe, Balanced, and Aggressive cleanup modes are available. For technical, academic, and compliance-related documents, begin with Safe mode and compare the output against the original document. An LLM may alter terminology, numbers, or meaning while attempting to improve formatting.
Step 4: Import Markdown into a Local AI Knowledge Base
After conversion, place the Markdown files and extracted figures inside a local folder:
You can then import the documents into an Open WebUI knowledge collection or process them in a custom RAG pipeline. For lengthy material, splitting content by section headings often makes chunks more useful than splitting at arbitrary positions.
Before indexing, check headings, reading order, tables, equations, citations, and references to images. Keep a copy of the source file for future verification.
Why Privacy Matters When Converting Documents
Many websites offer free PDF-to-Markdown and Word-to-Markdown conversion. While convenient, uploading files to a service you do not control may expose confidential information.
This is particularly important for documents containing student records, unpublished academic manuscripts, internal technical specifications, contracts, financial details, or other personal information.
When using a third-party service, you may not have full visibility into document retention, server logging, subcontractors, or how uploaded data is processed. Privacy claims should be checked against the provider’s actual terms and technical practices.
Self-hosting reduces unnecessary exposure by keeping processing on infrastructure under your control. It does not automatically guarantee privacy. If you enable a remote LLM provider for AI cleanup, extracted document content may still leave your network.
For sensitive documents, keep conversion local, disable cloud cleanup, restrict access to the MarkForge server, and secure temporary files and converted outputs. Never expose an unauthenticated document converter directly to the public internet.
Final Thoughts
MarkForge provides a straightforward way to convert PDF, Word, and OpenDocument Text files into Markdown for Ollama, Open WebUI, and other local AI workflows. Its self-hosted installation is useful when the documents should remain on your own computer or trusted server.
For a private RAG knowledge base, the recommended workflow is simple: convert locally, inspect the Markdown, and then index only the verified content.
Updated 22 October 2026. Commands below target Ubuntu/Debian package installations.
PHP has released emergency fixes for CVE-2026-109618 and CVE-2026-109619, both rated critical at CVSS 9.2. They can allow unauthenticated remote code execution. One involves unsafe out-of-memory cleanup; the other involves stale internal state across requests. Apache mod_php has a demonstrated attack before application code runs. PHP-FPM also requires patching. See the official announcement.
1. Check and update PHP
Back up your database, application files and configuration. Identify every runtime:
Check vendor backports. Ubuntu fixes include 8.3.6-0ubuntu0.24.04.13 for 24.04 and 8.5.4-0ubuntu1.5 for 26.04. Compare complete revisions against Ubuntu’s security notice. Other repositories need their own advisories. An older-looking version can contain the fix.
Confirm the web runtime afterward and test login, uploads and database access. Updating WordPress or OJS alone does not update PHP.
2. Update containers separately
Host updates do not patch container PHP. Confirm a patched image exists, then replace app with your Compose service:
Typical Ubuntu paths are /etc/php/8.3/fpm/php.ini for FPM and /etc/php/8.3/apache2/php.ini for mod_php. Adjust the branch number. php --ini reports CLI configuration only.
Test these example values. Disable file uploads if unused. Apply upload-progress settings at startup, then restart workers; application code and FPM .user.ini are too late for the confirmed early path.
Test Nginx with sudo nginx -t before reloading, or Apache with sudo apache2ctl configtest. These limits reduce exposure; they do not fix either CVE.
4. Emergency mitigation while patching
Prefer removing public PHP access and serving a static maintenance page. A PHP maintenance plugin still invokes PHP.
The OOM advisory recommends this incomplete emergency measure in the relevant FPM pool, such as /etc/php/8.3/fpm/pool.d/www.conf:
php_admin_value[memory_limit] = -1
This removes one controllable OOM trigger but permits unlimited per-request PHP memory, increasing denial-of-service risk. Use frontend limits and suitable cgroup/container boundaries. Underlying allocation failures remain dangerous; do not substitute RLIMIT_AS or RLIMIT_DATA. Audit overrides and restart all workers. Restore suitable finite PHP limits after patching.
For PHP 8.5, also set fatal_error_backtraces=0 in startup configuration. Remove invalid or obsolete per-request INI settings. These address specific stale-state paths only. Hiding warnings provides no protection.
5. Retire public PHP 7.4 applications
PHP 7.4 reached upstream end of life on 28 November 2022. Retire unused applications or migrate them to supported PHP. Legacy source patches and vendor fixes exist, but require explicit verification and should support temporary migration arrangements.
Remove forgotten subdomains, restrict administration through VPN/access policies, and keep FPM off public port 9000. Review logs, unexpected files, accounts and scheduled tasks. Patching does not remove existing backdoors. If compromise is suspected, isolate the system and preserve evidence. Follow NCSC guidance.
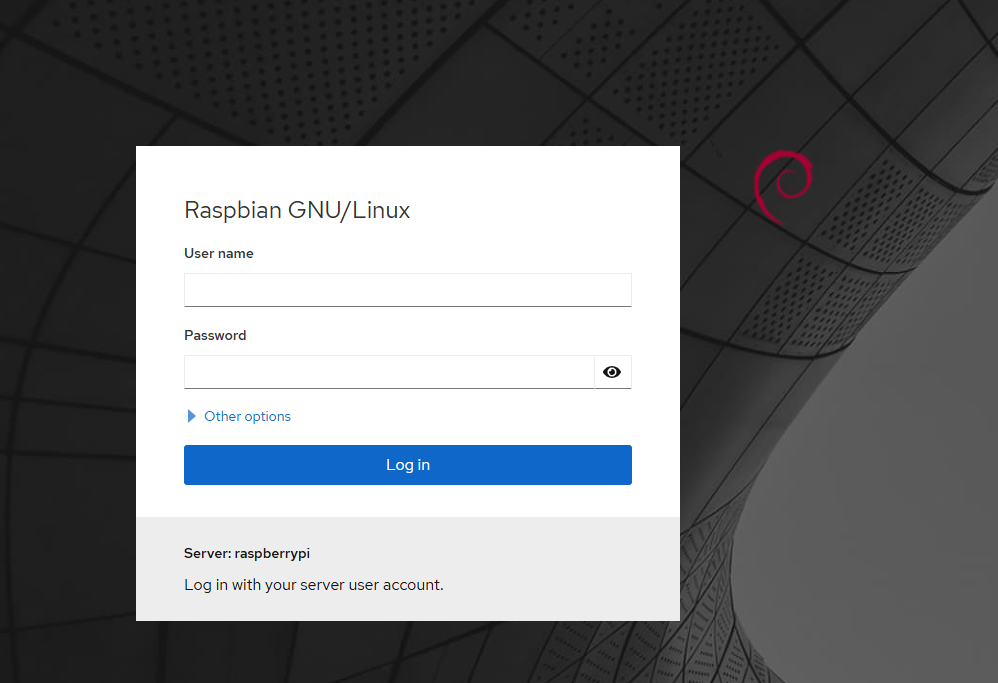
Cockpit dashboard is a convenient dashboard for home user or enthusiasts for monitoring several SOHO servers. It supports multiple Linux based operating system, however there are some caveats in installing in Raspberry Pi 3 as it runs on older Bookworm based operating system.
first your need to add bookworm-backports.
echo "deb http://deb.debian.org/debian ${VERSION_CODENAME}-backports main" | sudo tee /etc/apt/sources.list.d/backports.list
A lot of people struggling in configuring PKP Open Journal System 3 (OJS3) to run behind nginx reverse proxy as OJS3 does not support nginx natively
So most implementation would settle with Apache HTTPD server or install it behind nginx reverse proxy.
However the problem is that the OJS3 behave badly when placed behind nginx reverse proxy, especially when the reverse proxy is using HTTPS / TLS. This messed up the based URL in the OJS3, subsequently causing some resources from the website to be unavailable.
To solve this, you only need to add a single line in the Apache HTTPD site configuration file.