Howto install OwnCloud with NGINX in Ubuntu LTS

OwnCloud is a PHP-based Cloud-storage web application for remote storage with file synchronization capabilities.

Step 1
You need to install several packages in order to configure OwnCloud with nginx in your server

sudo apt-get -y install nginx-full php5-fpm php5-sqlite

Step 2: Download Owncloud
Download Owncloud, replace $OWNCLOUD_VER with the latest Owncloud version.

export OWNCLOUD_VER="8.1.0"
cd /var/www/
sudo wget -c https://download.owncloud.org/community/owncloud-${OWNCLOUD-VER}.tar.bz2

Step 3: Extract Owncloud
This will extract owncloud to /var/www/owncloud/

cd /var/www/
tar jxvf owncloud-${OWNCLOUD-VER}.tar.bz2

Step 4: Setup Nginx
You need to setup NGINX

cd /etc/nginx/sites-available
sudo nano -c /etc/nginx/sites-available/owncloud

Step 4a: Setup ‘owncloud’ nginx site

Please change server_name directive to your own ip address or your own domain.
You can also download textfile and upload it directly to your server: http://pastebin.com/2P8h1zNB

#
#/etc/nginx/sites-available/owncloud
# 
server {
  listen 80;
server_name cloud.example.com;
server_name 192.168.1.47;

  # Path to the root of your owncloud installation
  root /var/www/owncloud/;
  # set max upload size
  client_max_body_size 10G;
  fastcgi_buffers 64 4K;

  # Disable gzip to avoid the removal of the ETag header
  gzip off;

  # Uncomment if your server is build with the ngx_pagespeed module
  # This module is currently not supported.
  #pagespeed off;

  rewrite ^/caldav(.*)$ /remote.php/caldav$1 redirect;
  rewrite ^/carddav(.*)$ /remote.php/carddav$1 redirect;
  rewrite ^/webdav(.*)$ /remote.php/webdav$1 redirect;

  index index.php;
  error_page 403 /core/templates/403.php;
  error_page 404 /core/templates/404.php;

  location = /robots.txt {
    allow all;
    log_not_found off;
    access_log off;
    }

  location ~ ^/(?:\.htaccess|data|config|db_structure\.xml|README){
    deny all;
    }

  location / {
   # The following 2 rules are only needed with webfinger
   rewrite ^/.well-known/host-meta /public.php?service=host-meta last;
   rewrite ^/.well-known/host-meta.json /public.php?service=host-meta-json last;

   rewrite ^/.well-known/carddav /remote.php/carddav/ redirect;
   rewrite ^/.well-known/caldav /remote.php/caldav/ redirect;

   rewrite ^(/core/doc/[^\/]+/)$ $1/index.html;

   try_files $uri $uri/ /index.php;
   }

   location ~ \.php(?:$|/) {
   fastcgi_split_path_info ^(.+\.php)(/.+)$;
   include fastcgi_params;
   fastcgi_param SCRIPT_FILENAME $document_root$fastcgi_script_name;
   fastcgi_param PATH_INFO $fastcgi_path_info;
	  fastcgi_pass unix:/var/run/php5-fpm.sock;
   }

   location ~* \.(?:jpg|jpeg|gif|bmp|ico|png|css|js|swf)$ {
       expires 30d;
       # Optional: Don't log access to assets
         access_log off;
   }

  }

Step 4b: Enable ‘owncloud’ settings

cd /etc/nginx/sites-enable/
sudo ln -sf ../sites-available/owncloud .
nginx -t
service nginx restart
service php5-fpm restart

Step 5: Finishing off Owncloud setup

cd /var/www/
mkdir /var/www/owncloud/data
chmod 0770 /var/www/owncloud/data
chmod 0770 /var/www/owncloud/lib/private/
sudo chown -R www-data.www-data /var/www/owncloud

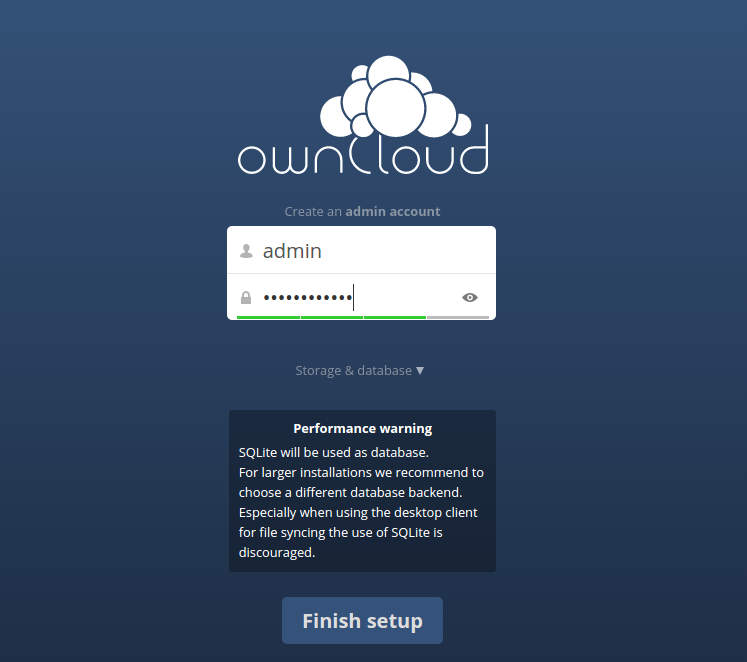
Step 6: Goto the IP-Address or domain name of your owncloud installation

First screen
setup-owncloud-first

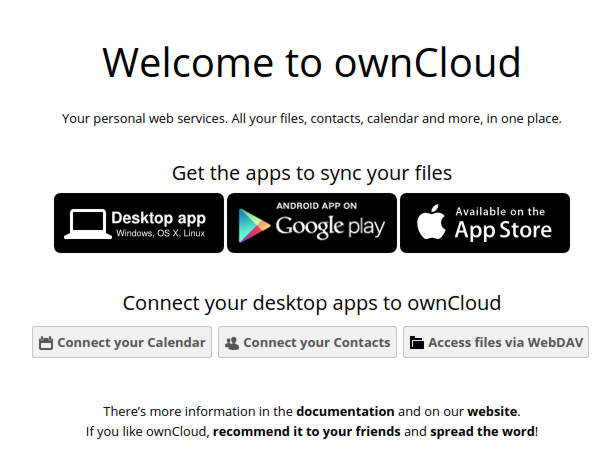
Welcome to Owncloud
welcome-to-owncloud

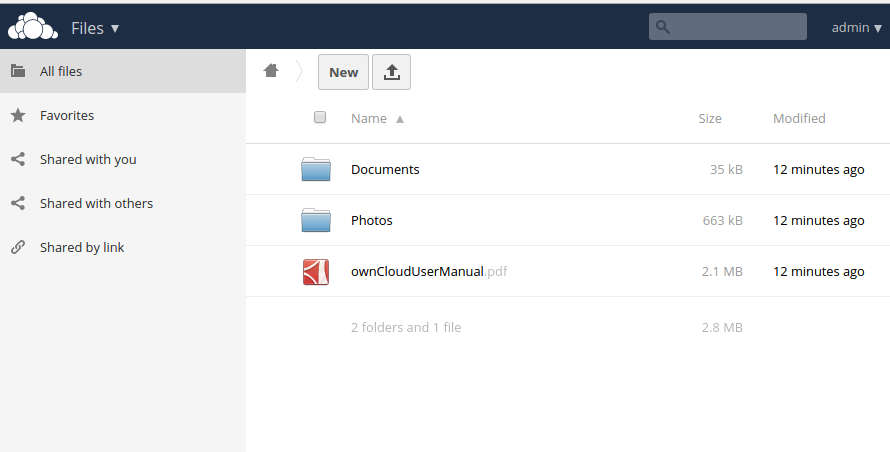
Owncloud File Manager and Settings
owncloud-filemanager

What’s Next?

After completing installation you may:

  1. Install Android, iPhone or Desktop client to sync all your files
  2. Install TLS/SSL Certificates to secure your Owncloud connection
  3. Install MariaDB/MySQL for efficient synchronization

Warning: Do not enable Pagespeed and SPDY in OwnCloud

OwnCloud servers does not support PageSpeed and SPDY module, so please disable those extension if its exists within your nginx configuration.

Recommended Owncloud book

Simple SSH Tunnelling tips

SSH tunelling is usually used to avoid firewall restriction or to ensure point-to-point encrypted communication.

For example, if you want to send email to smtp server “smtp.yourserver.com” on port 587, but your organization currently blocking smtp port 25 and 587, then you can benefit from SSH tunelling to avoid from being blocked.

To get around that, you need an intermediate server, fastssh.com currently provide SSH tunneling service with 7days trial account.

Simple SSH tunnelling command, if you’re using fastssh.com service.

ssh -f fastssh.com-username@sg.fastssh.com -L 2000:smtp.yourserver.com:587 -N

So in your mail setting, you can safely put, SMTP Server = “127.0.0.1”, SMTP port = “2000” in your setting, in order to automagically connect to “smtp.yourserver.com” port 587 without firewall restriction.

Please refer here, for port forwarding in Microsoft Windows environment using PuTTY

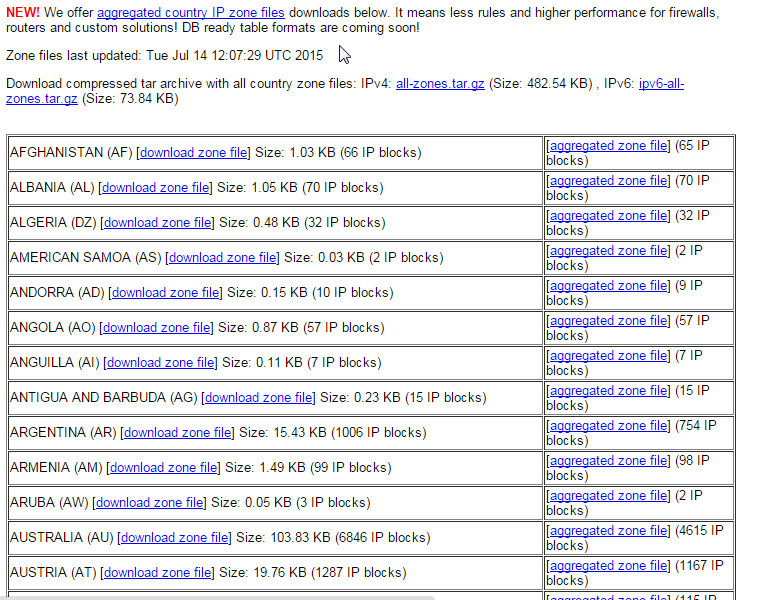
IPdeny.com – Download collections of Country IP Addresses

IPdeny.com is a service which offers a free collection of Regional and Country IP address blocks list.

ipdeny

The IP address blocks is useful for application developer and system administrator to enhance their system. For example, application developer can use the information redirect users from certain countries to regional websites or pages, or a system administrator can use the IP address information to isolate users from different countries.

How to Optimize and speed up PHP with OPCache

PHP 5.5 and 5.6 comes with OPCache. OPCache speeds up PHP execution by storing precompile bytecode of PHP in shared memory. Taking advantage of fast memory operations compared to hard disk operation, OPCache eliminates the process of having to read PHP scripts from the disk each time whenever a script must be executed.

In short, OPCache saves the time needed to serve PHP-powered websites!

How to enable OPCache?
This tutorial is written from Ubuntu 14.04 LTS standpoint – using php5-fpm, but it should also work for other Linux distro.

  1. First edit ‘/etc/php5/fpm/php.ini‘ file.
  2. Find “opcache” section in the PHP ini.
  3. Uncomment and change opcache.enable to opcache.enable=1
  4. Do the same for >opcache.memory_consumption, changed its value from 64 to 128 (or 256)
  5. Change opcache.interned_strings_buffer from 4 to 16
  6. Changed the opcache.max_accelerated_files to 8192

Activate OPCache with php5enmod command.

sudo php5enmod opcache

Save file and restart php5-fpm.

sudo service php5-fpm restart

PHP OPCache should be running on your server now. Here’s a reference of /etc/php/fpm/php.ini file in Ubuntu 14.04 LTS.

[opcache]
; Determines if Zend OPCache is enabled
opcache.enable=1

; Determines if Zend OPCache is enabled for the CLI version of PHP
opcache.enable_cli=0

; The OPcache shared memory storage size.
opcache.memory_consumption=128

; The amount of memory for interned strings in Mbytes.
opcache.interned_strings_buffer=16

; The maximum number of keys (scripts) in the OPcache hash table.
; Only numbers between 200 and 100000 are allowed.
opcache.max_accelerated_files=8192

BONUS: How to verify whether PHP OPCache is running ??
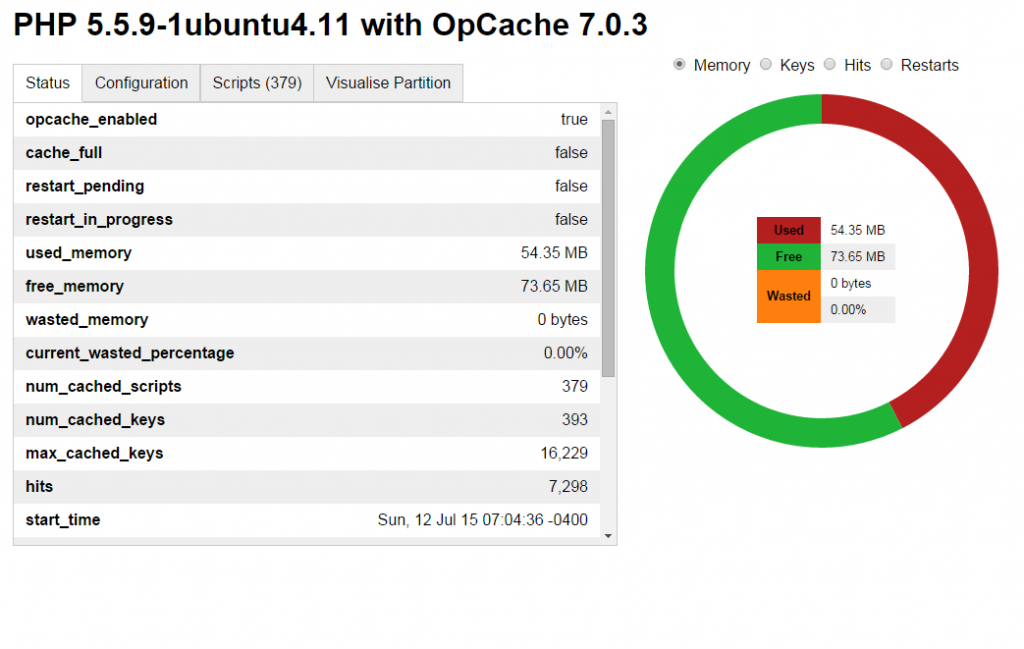
You can verify whether OPCache is running by using opcache-status by Rasmus Lerdorf. Just drop the script in one of your web directory and browse. If you’re not a Git fan, I’ve also have taken the liberty of mirroring the download: opcache-status.zip

opcache-status screenshot
opcache-status-ss

How to check if your website supports SPDY 3.1

Although Google has announce to drop SPDY support by early February 2016 in favor of HTTP/2, SPDY remains the best HTTP protocol extension to maximize compression and reduce webpage load latency.

The current and final SPDY implementation supported by Mozilla Firefox and Google Chrome is SPDY/3.1.

In order to check if your webserver supports SPDY 3.1, just simply:

  1. Go to your website, eg: https://blog.mypapit.net/
  2. Using Chrome, type – “chrome://net-internals/#spdy” at the addressbar
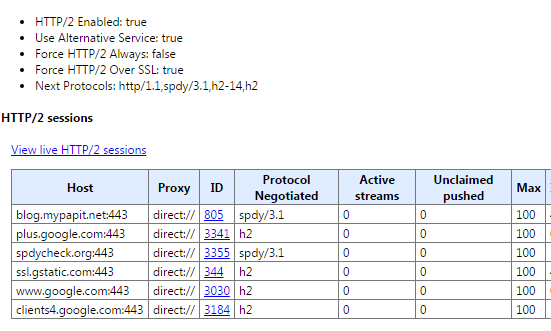
  3. You should see your website name and spdy/3.1 protocol listed, refer to Screenshot below

spdy

Additionally, you could go to spdycheck.org to check if your web server supports SPDY.

Have fun!

How to send Email with SMTP using Telnet in GNU/Linux

SMTP is a protocol to send email over the internet and it is documented in RFC821. Sending email using Telnet is straight-forward if you know how to do it.

telnet smtp.example.com 25
MAIL FROM: <example_from @ example.com>
RCPT TO: <example_to @ example.com>
DATA
From: [John Doe] <example_from @ example.com>
To: [Jane Doe] <example_to @ example.com>
Subject: This is a test message....

This is an example email content to demonstrate email sending using Telnet.

.

QUIT
[/pre]

Note that you need to type "." and QUIT after you've finished writing the email content. You should change the SMTP server domain and the email used in the example accordingly.