OwnCloud is a PHP-based Cloud-storage web application for remote storage with file synchronization capabilities.
Step 1
You need to install several packages in order to configure OwnCloud with nginx in your server
sudo apt-get -y install nginx-full php5-fpm php5-sqlite
Step 2: Download Owncloud
Download Owncloud, replace $OWNCLOUD_VER with the latest Owncloud version.
export OWNCLOUD_VER="8.1.0"
cd /var/www/
sudo wget -c https://download.owncloud.org/community/owncloud-${OWNCLOUD-VER}.tar.bz2
Step 3: Extract Owncloud
This will extract owncloud to /var/www/owncloud/
cd /var/www/
tar jxvf owncloud-${OWNCLOUD-VER}.tar.bz2
Step 4: Setup Nginx
You need to setup NGINX
cd /etc/nginx/sites-available
sudo nano -c /etc/nginx/sites-available/owncloud
Step 4a: Setup ‘owncloud’ nginx site
Please change server_name directive to your own ip address or your own domain.
You can also download textfile and upload it directly to your server: http://pastebin.com/2P8h1zNB
#
#/etc/nginx/sites-available/owncloud
#
server {
  listen 80;
server_name cloud.example.com;
server_name 192.168.1.47;

  # Path to the root of your owncloud installation
  root /var/www/owncloud/;
  # set max upload size
  client_max_body_size 10G;
  fastcgi_buffers 64 4K;

  # Disable gzip to avoid the removal of the ETag header
  gzip off;

  # Uncomment if your server is build with the ngx_pagespeed module
  # This module is currently not supported.
  #pagespeed off;

  rewrite ^/caldav(.*)$ /remote.php/caldav$1 redirect;
  rewrite ^/carddav(.*)$ /remote.php/carddav$1 redirect;
  rewrite ^/webdav(.*)$ /remote.php/webdav$1 redirect;

  index index.php;
  error_page 403 /core/templates/403.php;
  error_page 404 /core/templates/404.php;

  location = /robots.txt {
    allow all;
    log_not_found off;
    access_log off;
    }

  location ~ ^/(?:\.htaccess|data|config|db_structure\.xml|README){
    deny all;
    }

  location / {
   # The following 2 rules are only needed with webfinger
   rewrite ^/.well-known/host-meta /public.php?service=host-meta last;
   rewrite ^/.well-known/host-meta.json /public.php?service=host-meta-json last;

   rewrite ^/.well-known/carddav /remote.php/carddav/ redirect;
   rewrite ^/.well-known/caldav /remote.php/caldav/ redirect;

   rewrite ^(/core/doc/[^\/]+/)$ $1/index.html;

   try_files $uri $uri/ /index.php;
   }

   location ~ \.php(?:$|/) {
   fastcgi_split_path_info ^(.+\.php)(/.+)$;
   include fastcgi_params;
   fastcgi_param SCRIPT_FILENAME $document_root$fastcgi_script_name;
   fastcgi_param PATH_INFO $fastcgi_path_info;
	  fastcgi_pass unix:/var/run/php5-fpm.sock;
   }

   location ~* \.(?:jpg|jpeg|gif|bmp|ico|png|css|js|swf)$ {
       expires 30d;
       # Optional: Don't log access to assets
         access_log off;
   }

  }
Step 4b: Enable ‘owncloud’ settings
cd /etc/nginx/sites-enable/
sudo ln -sf ../sites-available/owncloud .
nginx -t
service nginx restart
service php5-fpm restart
Step 5: Finishing off Owncloud setup
cd /var/www/
mkdir /var/www/owncloud/data
chmod 0770 /var/www/owncloud/data
chmod 0770 /var/www/owncloud/lib/private/
sudo chown -R www-data.www-data /var/www/owncloud
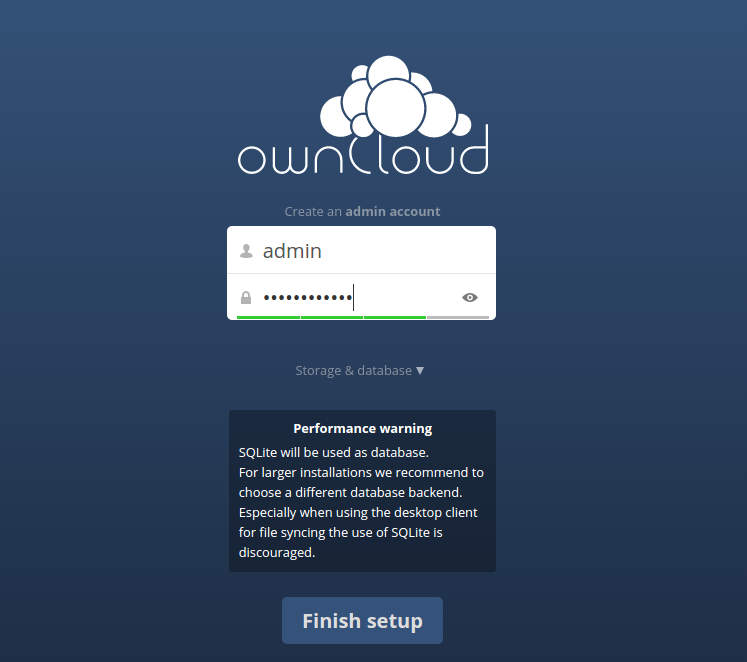
Step 6: Goto the IP-Address or domain name of your owncloud installation
First screen
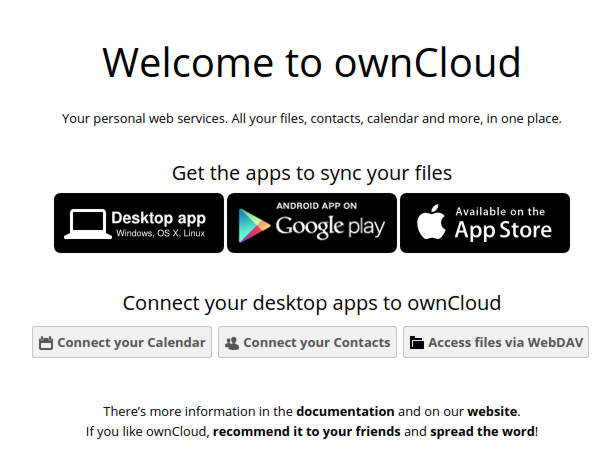
Welcome to Owncloud
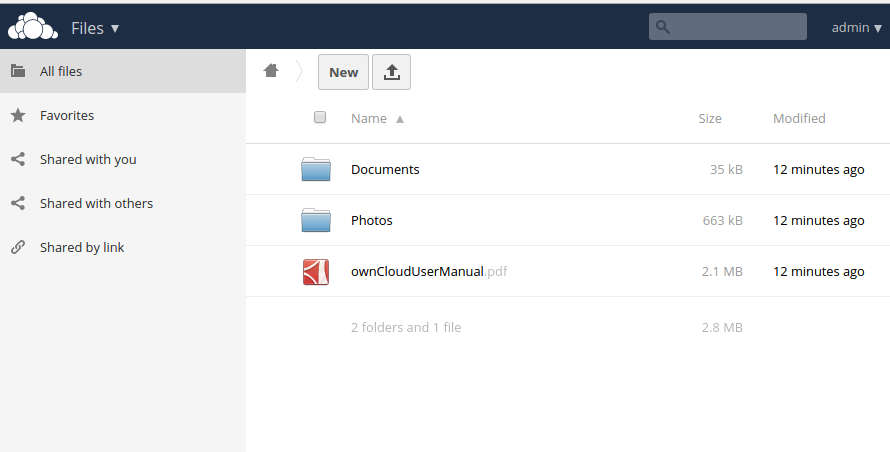
Owncloud File Manager and Settings
What’s Next?
After completing installation you may:
- Install Android, iPhone or Desktop client to sync all your files
- Install TLS/SSL Certificates to secure your Owncloud connection
- Install MariaDB/MySQL for efficient synchronization
Warning: Do not enable Pagespeed and SPDY in OwnCloud
OwnCloud servers does not support PageSpeed and SPDY module, so please disable those extension if its exists within your nginx configuration.
Recommended Owncloud book


